Server Case Upgrade Heaven (or Hell?)
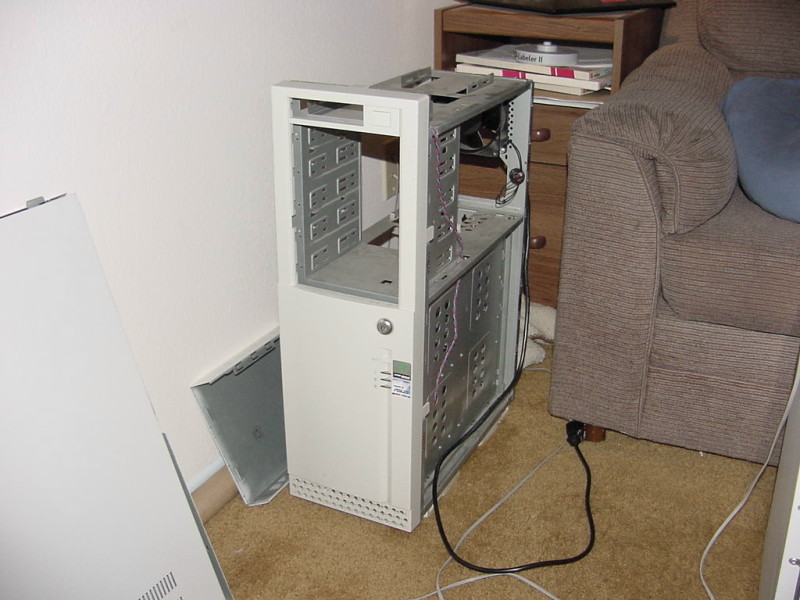
As you may or may not know, the server that runs this web site sits here next to my desk at my house. Although it's a far cry from a professional server that you might buy from Dell or IBM, it's getting closer and closer to that level with each upgrade. Recently I set out to upgrade the case to something with more drive bays. My old InWin Q500 was serving the purpose, but it was maxed out and would not accommodate my future plans.
I started looking for a server case with these criterion in mind:
| At least 9 hard drive bays | |
| Under $200 | |
| Pentium II Xeon compatible |
After shopping around a bit I realized that my requirements were not going to be easy to fulfill. Though my demands didn't seem like much to ask for, finding a case that met all three terms turned out to be a challenge. After a lot of shopping I finally settled on two choices from Multiwave.com.
The first was the Enlight 8950 mini server tower. The Enlight met all of the requirements. I liked the price of the Enlight at $160. I liked the fact that it could be converted to rack mount. I didn't like the extreme depth of the case. The 300W power supply was too small. Overall the case looked too small and cramped.
The second was the Enermax FS-981XPSS full server tower. The Enermax was over the price limit a little at $240, but eventually the high points like the 400W power supply, all the room inside, and the ability to use a 120mm fan, won me over despite the price. I decided on the Enermax and picked one up from Multiwave.
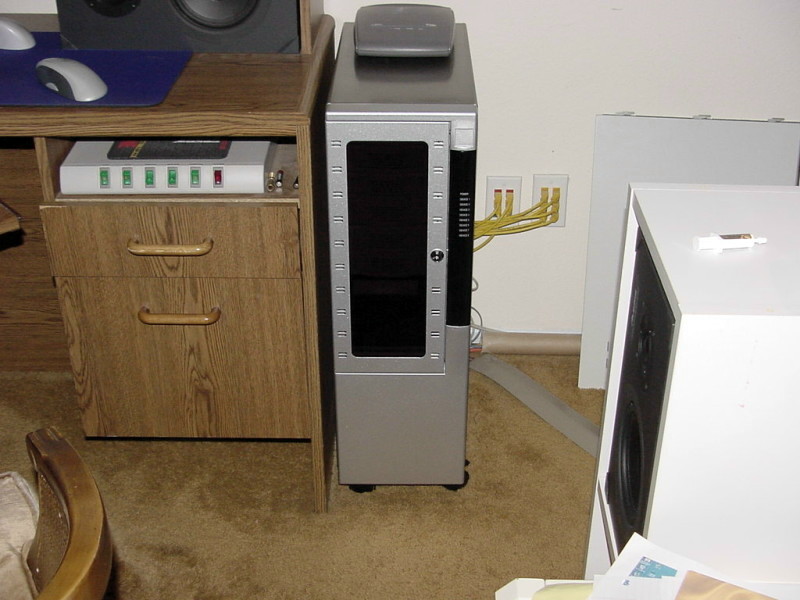
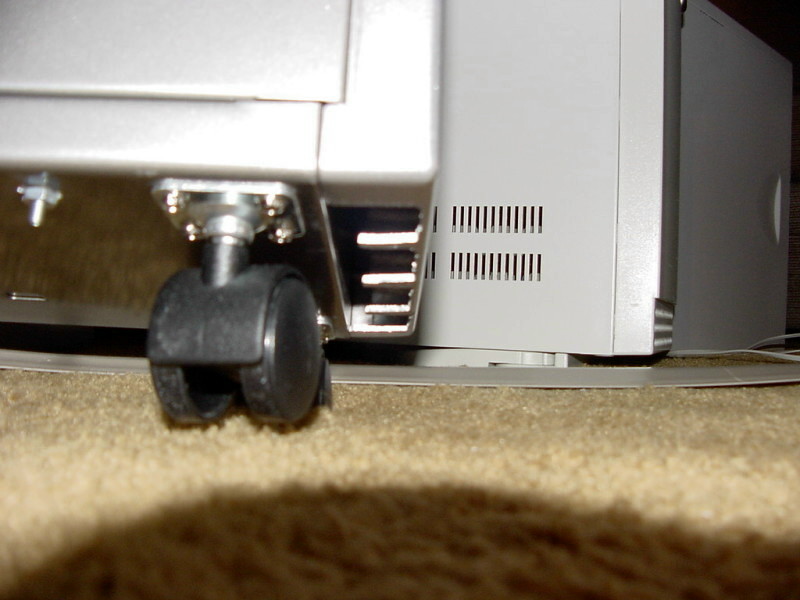
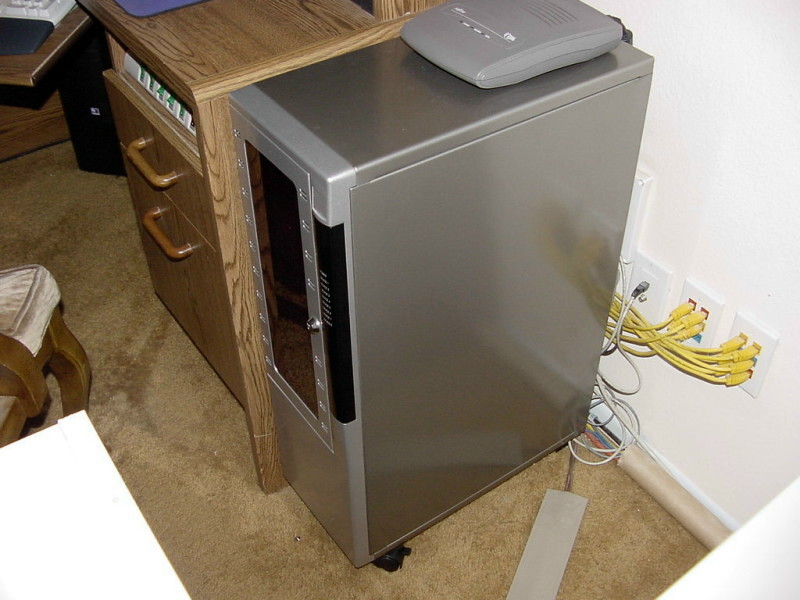
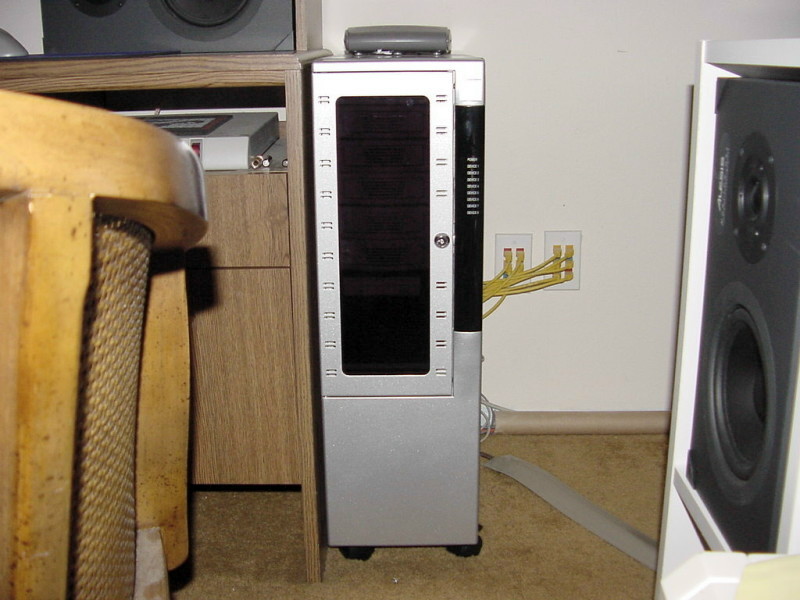
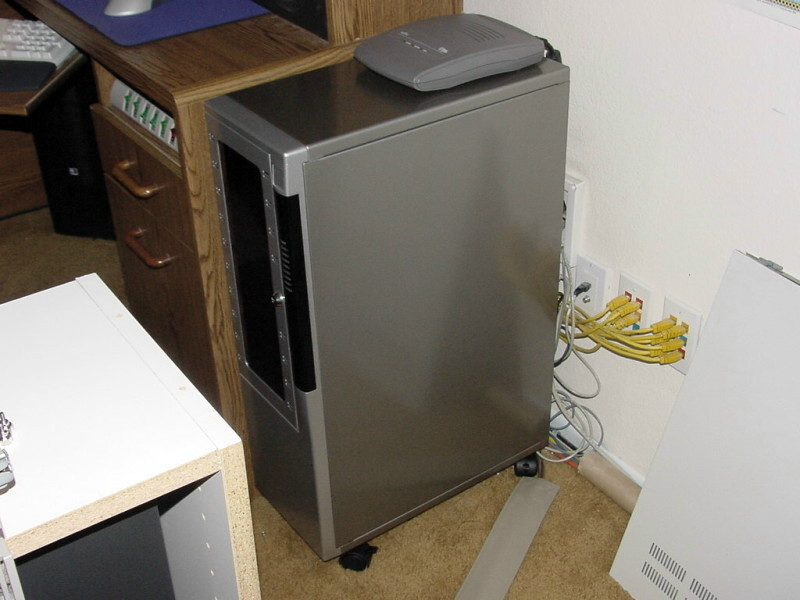
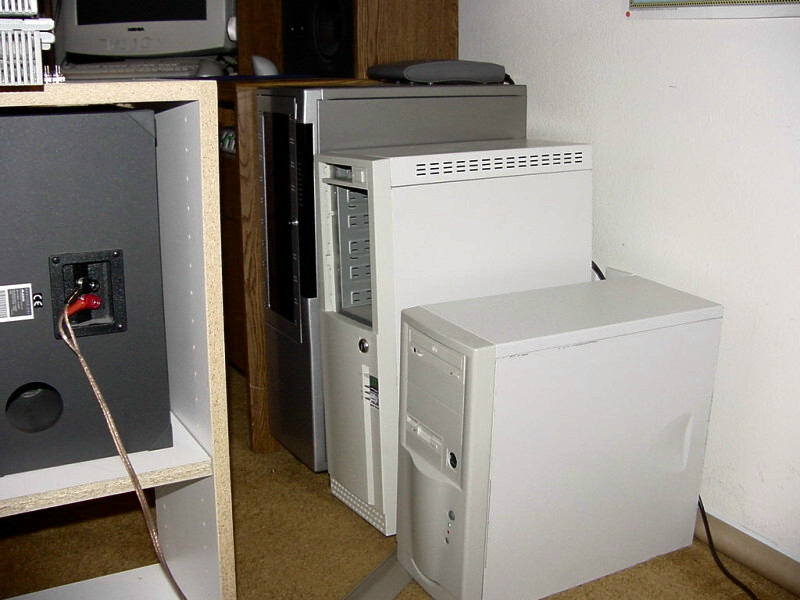
Once I got the case home and unpacked the box I was extremely happy with my choice. The case gives a first impression of class and beauty. It's covered with two shades of powder-coated gray finish, and the tinted Plexiglass door and indicator panel blend in nicely with the look. Of course, it's also huge and impressive looking, especially after installing the included coasters on the bottom. The FS-981XPSS made my old InWin tower look inadequate and pathetic. I anxiously waited for the weekend to swap everything over.
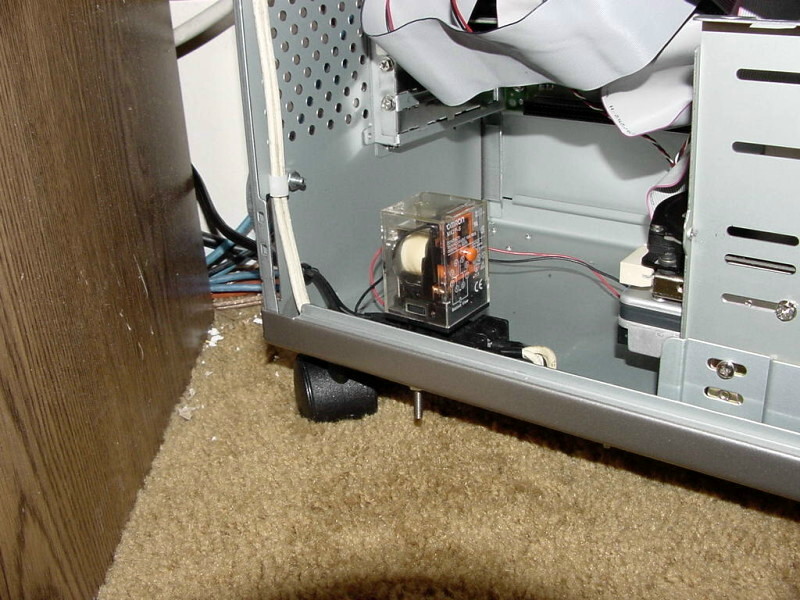
Finally, Saturday night I shut down the server and began switching everything over. I began by installing the two 120mm, 120V fans in the case, a procedure that I've done to almost all my computers now. The large 120V fans from Radio Shack move more air than their low voltage counter parts with much less noise. They don't load the computer's power supply down and they are equipped with ball bearings for longer life. I also installed a relay for the fans that tied in to the 12V power source to turn the high voltage fans off and on with the computers power system.
All-in-all, the procedure went well. Unfortunately, things went downhill from there. My exalted opinion of this new super case began to decline as the night went on. In fact, it eventually hit bottom and then began to dig a hole. Read on to find out why I began to regret my choice so badly that I considered returning the case in exchange for something else.
Obstacle #1
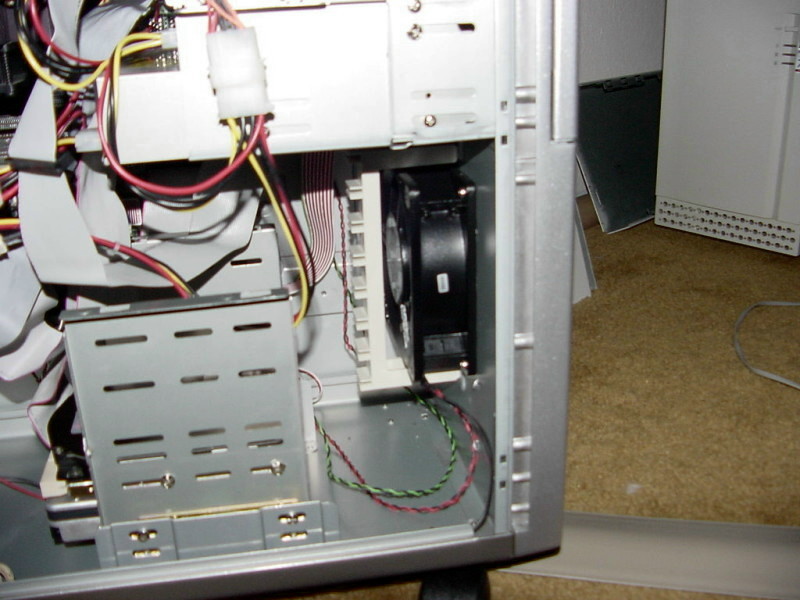
Once I finished the fan installation I powered up the fans to test them out. The rear fan worked as planned, chugging air out of the rear of the case like a mad man. The lower front fan was a different story. Almost NO air was coming from this one. In addition, as the RPM climbed the fan began making a warbling cavitation noise. I started investigating how the air flowed in to the front of the case to the fan. I began to realize that there was no way for air to get in! The only opening in the front was a 1/2" wide slot underneath the lip of the front cover. Unfortunately, I've seen this problem with many cases. But I was surprised that this case (supposedly a "server case") had the same piss poor design.
I removed the front cover and began brainstorming for ways to fix this problem. I started by trimming the slot with a pair of nibblers as big as possible. After an hour of trimming I put the cover back on and noticed a small improvement. The fan was actually blowing some air now. Not a lot, but some. At this point I realized that if I wanted more air I would have to cut a giant air hole in the front of the case like I did with my Athlon computer. I decided to live with it and move on.
Obstacle #2
Next I decided to install the motherboard, a Supermicro S2DGE. This is a big board, but hey, it's a server case right? I've got lot's of room! Wrong! Putting the motherboard in place was like playing the old electronic board game "Operation". As I slowly lowered the board in, I could feel it bumping sheet metal left and right. At one point I began to question if the board would even fit at all. Eventually I did manage to get the board in by moving the right corners, into the right places, in the right order.
Obstacle #3
After a few trial fits I lowed the board in the case for the final time and began securing it with screws. About this time I noticed something I had never seen before. Two of the stand-offs for securing the motherboard did not line up with the holes in the motherboard. I could see about half the stand-off through the hole, but no matter which way I slid the motherboard, it wasn't enough to get those two screws in. I think this was about the time I started to have second thoughts about the case. I left the two screws out and continued on.
Obstacle #4
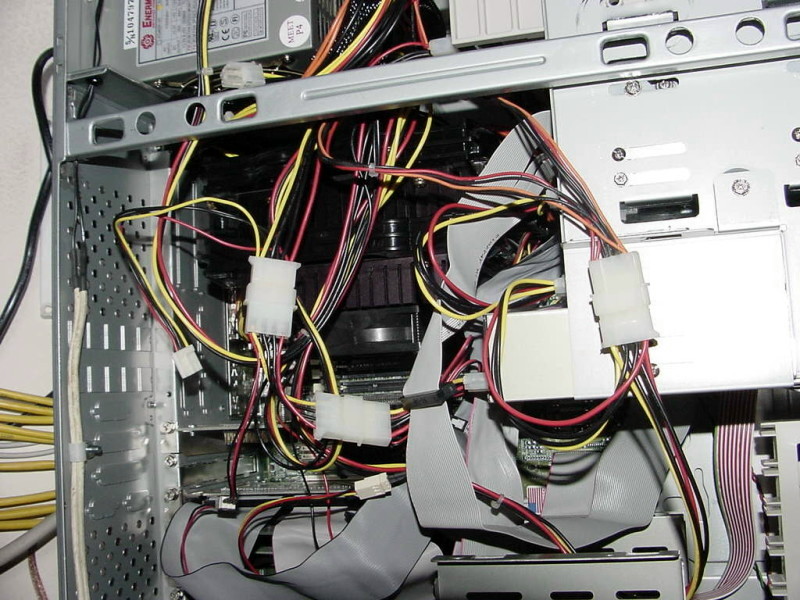
I installed the two Xeon 450/2MB CPU's, the 512MB ECC RAM, the TNT2 video card, the Linksys NIC for the DSL line, the Intel Dual port NIC for the LAN, and the 3Ware 6800 8 channel IDE RAID controller. Then I began installing the hot swap holders. I had 8 of them to install, the whole reason I was upgrading from a case that had 5 bays to one that had 9 (8 for hot swap and 1 for a CD-ROM). As soon as I put in the first hot swap holder, I saw a BIG problem. The bays that were in front of the CPU's didn't have anywhere near enough depth to accommodate the holders. I started trial fitting a hot swap holder into all the bays. I found that the bottom 4 bays would not accept a holder because the CPU's were in the way. That's 4 out of 9! As in 5 left! Right where I was before I started this mess! At this point I had to sit back and seriously wonder what to do next and if I should even continue on.
A lot of time and thought passed. Eventually I decided to give it a shot anyways. I tried trial fitting the hot swap holders, the CD-ROM, and the floppy drive holder (which surprisingly turned out to be removable, or more importantly, moveable) into all the combinations I could think of. Eventually I had to give up on two of the hot swap holders, and move the CD-ROM and floppy drive to the bottom of the stack. Two of the hard drives got mounted in normal 5-1/4" to 3-1/2" bay converters. Those two are now behind the black bay covers you see at the bottom of the picture, between the floppy drive and the CD-ROM..

Light this candle!
After lots of cussing and swearing, I finished the job and fired her back up again. Luckily, everything worked great the first time. Otherwise I might have had to get medieval.
Now that it's all done, I must say that it looks nice. Most everyone that has seen it has commented about it's appearance and size. I'm happy that I can use 6 hot swap's rather than only the 4 I had in the old case. After a couple days of use, I've come to appreciate the locking front door also. I used to always worry when small kids came over, that one of them might press the reset button. It's now safely behind the locked door along with the power button.
Still, I'm unhappy with the dumb design Enermax used for the air inlet at the front. I also wish I could use all 8 of my hot swap's. I don't like the way the CD-ROM and floppy drive look at the bottom of the stack. But, at least there's a nice tinted Plexiglas door to hide that. :)
-Ben